In this directory you will find five files:
- b_run.htm - which is the file you are reading,
- b_run.cif - a MOSES "command" file, and
- b_run.dat - a MOSES "data" file.
- clean.bat - a Windows file for cleaning up
- clean - a Unix file for cleaning up
A double click on b_run.cif will run MOSES and finish. If you now look at the contents of this directory, you will find that there are a few more files. In addition to the original ones, the execution of MOSES produced:
- b_run.ans - a directory containing the MOSES results
- b_run.dba - a directory containing the MOSES database
The .ans directory contains results that are formatted so that they can been looked at, and the .dba directory contains the MOSES internal databases. The .ans directory contains:
- log00001.txt - log file
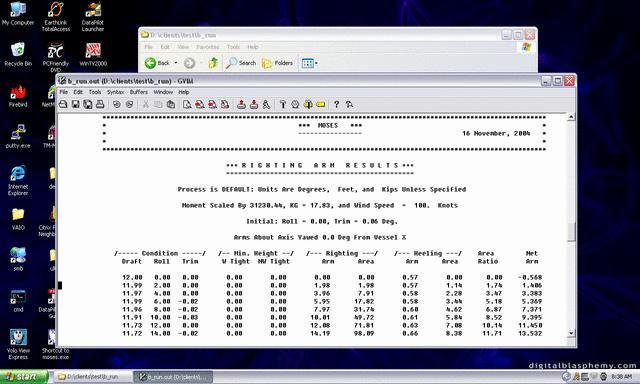
- out00001.txt - output file
- gra00001.eps - graphics file
If you double click b_run.cif again, something different happens! This time, you get a window and a prompt and nothing else. This time, MOSES detected that a database exists and therefore did not execute the commands in b_run.cif. Instead, he expected you to issue new commands to change the existing state of affairs. The situation at the end of the first run is remembered, so you can "pick up" where you "left off". In fact, the last few commands from the previous session are displayed, along with the "MOSES Finished" message, and the new startup banner for this second session.
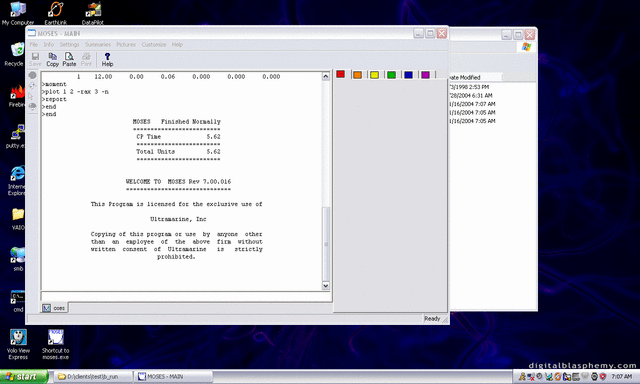
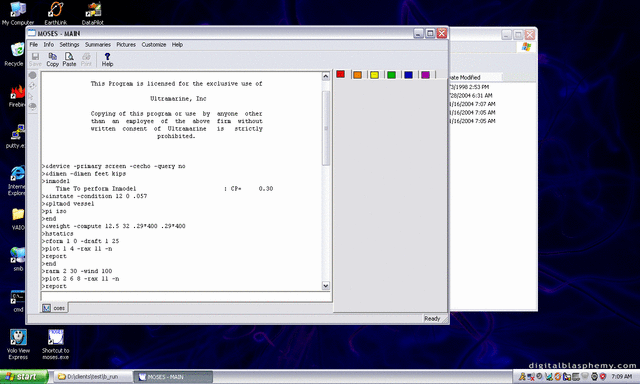
If you mash the home key, you are at the top of the dialog from the previous run. Here, you can use either the scroll bar or the page down key to look at what was done previously.
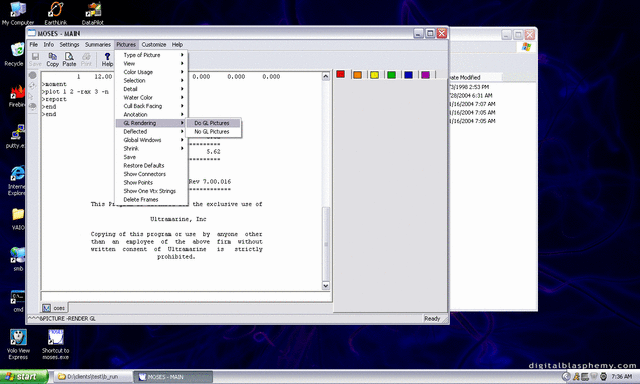
To obtain a picture of your system, click on the "Pictures" button on the top tool bar. Then, select "GL Rendering" and "Do GL Pictures".
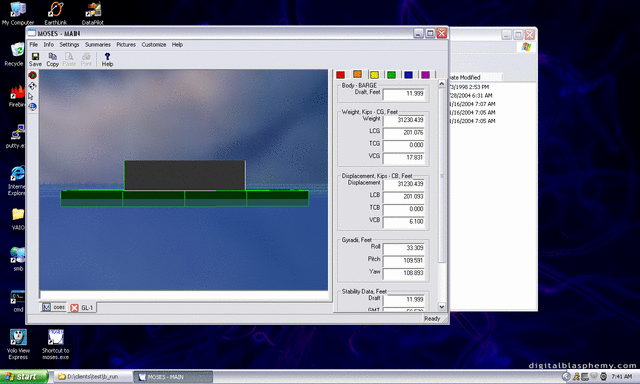
A side view of the barge with cargo will appear. If you click on the cargo, the sidebar on the right will get filled with information. You can move to different tabs to show different types of information. This tab displays useful information about the body, weight, displacement, centers and stability data.
Now, type in
&statusto see that MOSES remembers where the barge was placed in the previous run.

Click the Help button on the top toolbar, then select "Context Help" and will you get the Help Menu for the currently valid commands.

Click "OK" and MOSES will display the section of the Manual on HYDROSTATICS. You can now page through the manual, or use the tabs at the bottom left to switch between the table of contents, commands index or options index.

Now, input Ctrl G (the ctrl key and G simultaneously). A picture will appear. The left arrow key will translate the picture to the left, the up arrow key will translate it. In Observer mode, the observer moves, while in Model mode, the model moves. You can save this view to a file by clicking on the "Save" icon, located at the top left of the screen, just under the top toolbar. You can either append to the existing .gdv file, or create a .bmp file.
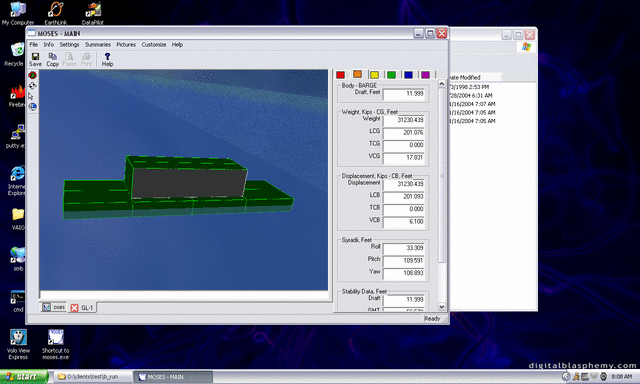
You can use Ctrl W (the ctrl key and W simultaneously) to get a wireframe picture. To save this to a file, click "Picture" on the toolbar, then "Save".
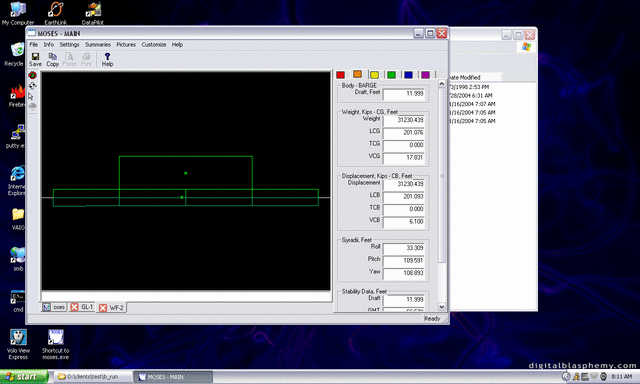
To get rid of the MOSES window, type in
&FINISH, or Ctrl F
If you now look at the contents of b_run.ans two new files:
- log00002.txt - new log file
- gra00002.eps - new graphics file
You can right click on b_run.gdv to open Ghostview and view this file.
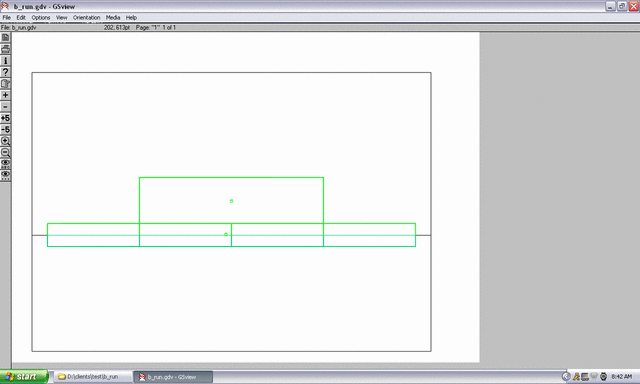
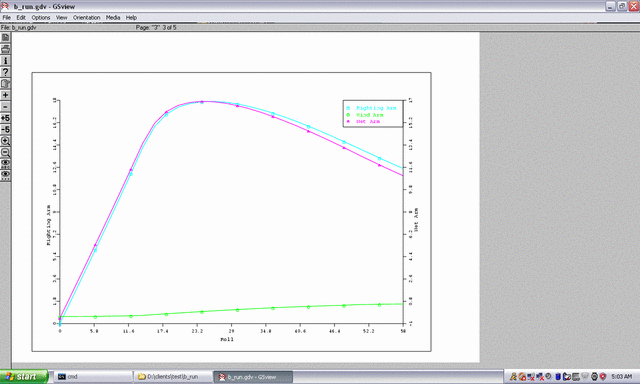
Notice that MOSES also produces plots to present results. Here, a typical righting arm curve is shown:
Now, suppose that you have an existing database and it is basically wrong for some reason (you had mistakes in your model, issued some bad commands, etc.). You can get rid of the existing database simply by removing the directory/folder filename.dba. If you again double click on b_run.cif, MOSES will execute and behave as it did the first time, though the file names in your filename.ans directory will be incremented unless you erase your filename.ans directory as well.Cleaning Up
As mentioned above, the database files are created by MOSES and intended to be used only by MOSES. You cannot read them for they are binary. In truth, you need not concern yourself with them, they are MOSES' responsibility, except to delete them when you are through with them or need to start over.
Now back to the files which were intended to be used by the user. You can look at the log file with any editor and see the interaction of the command in the b_run.cif file with MOSES. The lines beginning with > show the commands and any others are the MOSES responses to the commands. What you have done here is:
- read in a simple model of a barge,
- plot a picture of it,
- place the barge in a specified condition,
- compute a weight so that it is in equilibrium at the specified condition,
- compute curves of form of the barge,
- compute stability curves of the barge in the specified condition, and
- compute longitudinal strength of the barge with a 1/20 steepness wave with the crest at the bow and at amidship.
